


Engagement Ring Photography: A Five-Shot Checklist For Jewellery Brands
02-10-2026


A ring can fill a photograph and still leave its design unclear. The diamond catches the light, but the band disappears behind a prop. A dramatic angle makes the stone look imposing without showing how high it sits. The image attracts attention; the next one needs to answer the questions it raises.
For a stylist, photographer or small jewellery brand, a useful engagement ring shoot starts with five views: from above, from the side, in close-up, on the hand and within a styled look. Give each photograph a job before choosing the backdrop.
Build the brief around the ring being photographed
Shoot checklist
- Design name or reference; metal and finish.
- Centre-stone size (weight and dimensions); ring size.
- Exact sample identifier; lighting setup.
Keep these details with the images so the photographed sample is distinct from other options a customer can order.
For example, the platinum Grace solitaire in Lily Arkwright’s collection of lab created diamond rings comes in several centre-stone sizes. Its product page specifies a 2ct diamond in the photographs and a model wearing UK ring size M. Carrying that information into an image caption helps readers understand what they are seeing.
Keep the same sample through the core photographs. If you swap to a different stone size for the hand shot, label the change clearly rather than leaving the viewer to assume every image shows the same ring.
Photograph a grey card under the lighting used for each setup, and repeat whenever the lighting changes.
1. Top view: show shape and proportions
Start with a clear view straight down over the centre stone. This lets the viewer see its outline, the arrangement of any side stones and the way the band meets the setting. Keep the camera square to the stone’s upper surface so a tilted view does not obscure its proportions.
Across a collection, keep the top-view camera angle, image scale and crop consistent. Do not enlarge each ring to fill the frame: that can make different stone sizes appear equal, or similar ones appear different. Use the recorded dimensions to check relative scale, and label separate macro views as close-ups.
Use a plain background and controlled, softened light as a starting point. Nikon’s jewellery photography guidance demonstrates how a light tent diffuses illumination and how moving the lights changes shadows and highlights. Take a test frame, then check whether bright reflections are hiding the claws or the edge of the band.
For equipment and lighting basics, see our guide to product photographs for your website. This shot list concentrates on fine jewellery details and scale.
2. Side view: show setting height
Bring the camera down to the ring’s level. Show the structure supporting the diamond and how it joins the band. A hidden halo, decorative gallery or raised setting may barely register in the view from above, yet be central to why someone likes the design.
Leave enough space around the ring to see its complete profile. If the styling includes a wedding band, photograph the pair together as well as the engagement ring alone. That shows the actual gap or alignment, without suggesting every wedding band will fit in the same way.
3. Macro shot: show the defining detail
Choose the detail that would be missed in a smaller image: the join between two strands of a twisted band, a row of tiny diamonds or the shape of a claw tip. Set the focus on that feature and inspect the result at full size before moving on. Check for fingerprints and stray fibres while the sample is still in position.
Use a tripod or stable phone mount to keep the framing steady while you adjust the ring or refocus. A macro lens is useful for small details, but respect the close-focusing limit of whichever lens or phone you use. Move back if the camera cannot focus. A slightly wider, sharp photograph is more informative than an extreme close-up that turns the metalwork into a blur.
4. Hand shot: show scale
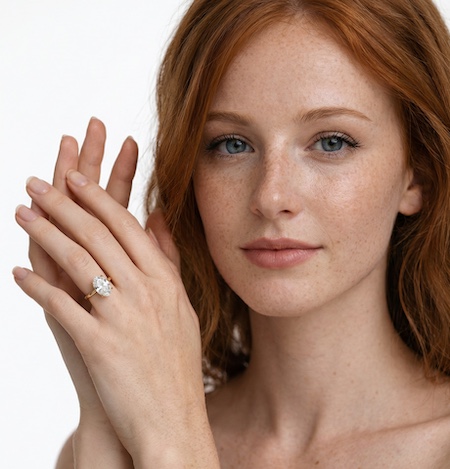
Include enough of the hand for the viewer to judge how the ring sits across the finger. A crop containing only the diamond and a sliver of skin loses much of that context. Keep the hand relaxed and take a second view if the pose conceals the band.
Record the size of the ring and identify the centre stone shown. Even with those details, hands differ, so an on-hand photograph is a useful reference rather than a promise of exactly how the ring will look on everyone.
5. Styled shot: show fashion context
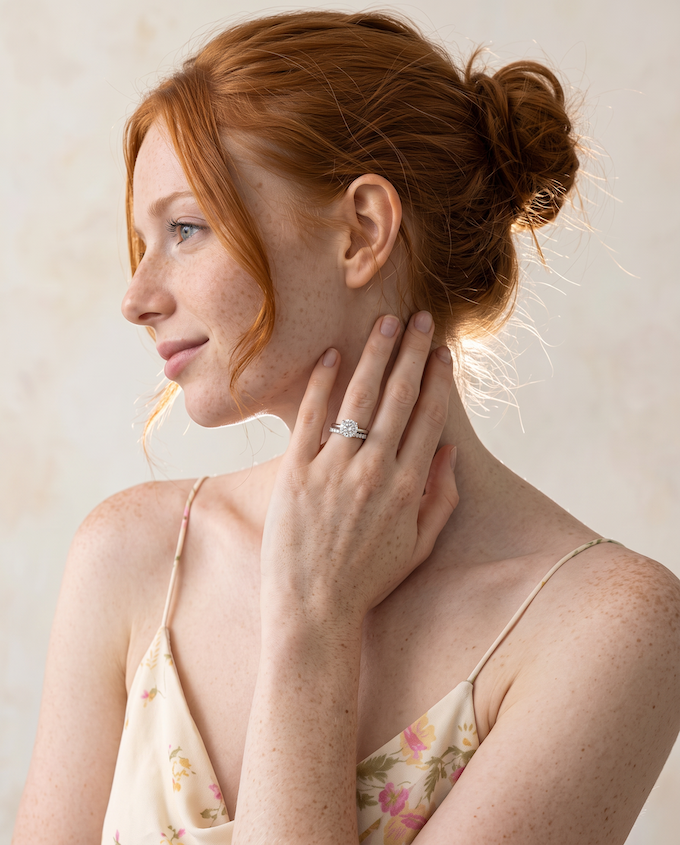
Now bring in the clothes and accessories. A shirt cuff, a textured knit or a simple watch can give the image a recognisable fashion context. Look through the camera while adjusting the sleeve: a small movement may cover the very detail the shoot needs to show.
Keep an unobstructed view among the finished images, even if the more expressive photographs use movement or layered jewellery.
Keep colour and detail consistent in the final edit
Review the photographs as a set. If the same platinum band looks blue in one frame and yellow in another, check the lighting and white balance, which adjusts colour casts. Adobe’s white-balance guidance explains how a grey card provides a neutral reference and why mixed light sources make consistent colour harder to achieve.
Editing boundary: Remove temporary dust or background distractions. Do not digitally enlarge stones, reshape claws or add artificial sparkle. Label computer-generated design renders clearly.
Before signing off, ask someone who has not seen the ring to describe it from the photographs. If they can identify its shape, setting and scale, the shoot has done more than produce an attractive picture. It has made the design understandable.


